A True Family Tradition
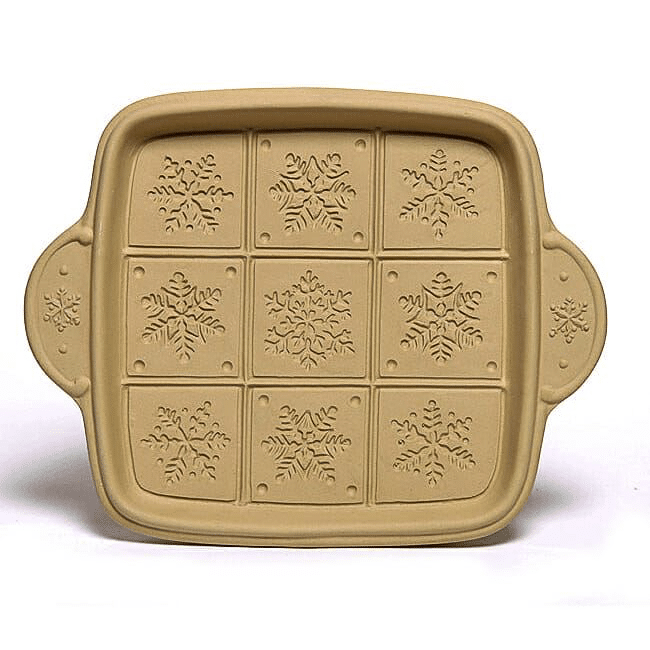
A few years ago, my mother received a shortbread plate from her mother as a gift and they have become a staple on our holiday dessert table. I bought my own plates a few years ago and gave them as gifts to my sisters to keep the tradition alive. The plates aren't essential, but the result is high tea worthy!
Traditional Scottish Shortbread
A Bit of History
This is where my passion for baking coexists with my interest in history 😉 The first mentions of this type of dessert date back to the 12th century and were made with leftover dry bread. Gradually, to our great delight, butter replaced yeast, until it became the central ingredient (yum!). Hence the importance of choosing a quality butter: the better the butter, the better the shortbread.
There is no simpler recipe than that of a shortbread: one part sugar, two parts butter and three parts flour. Purists will tell you that there can only be three ingredients, but don't listen to them, it's a perfect recipe for having fun! You can add orange zest, candied fruit or nuts, however, having tried a few variations, I prefer to simply flavor them with a little hint of vanilla.
Apparently Mary Queen of Scots preferred shortbread shaped like “petticoat tails” and flavoured with caraway seeds. Having tried it too, it gives a very interesting taste and confirms that you can flavour them with almost anything!
Tips For Making Shortbread Cookies The First Time
Method of Preparation
The preparation method greatly impacts the final texture of the shortbread. Whether you prefer a soft or crumbly shortbread, the key is to adjust the kneading according to your preferences.
So, depending on the ratios of ingredients and how you combine them, you either get a more delicate and soft shortbread or a more dry and crumbly one (not to say shortbread!). The ingredients are either combined in a mixer, food processor, or by hand, and the dough is then kneaded for a longer or shorter time depending on the desired texture. It's really a matter of personal preference, experiment to find yours. For my part, I cream the butter and sugar together using a hand mixer or a stand mixer until light, then add the flour and knead by hand a little. The result is a delicious soft shortbread.
Types of Molds
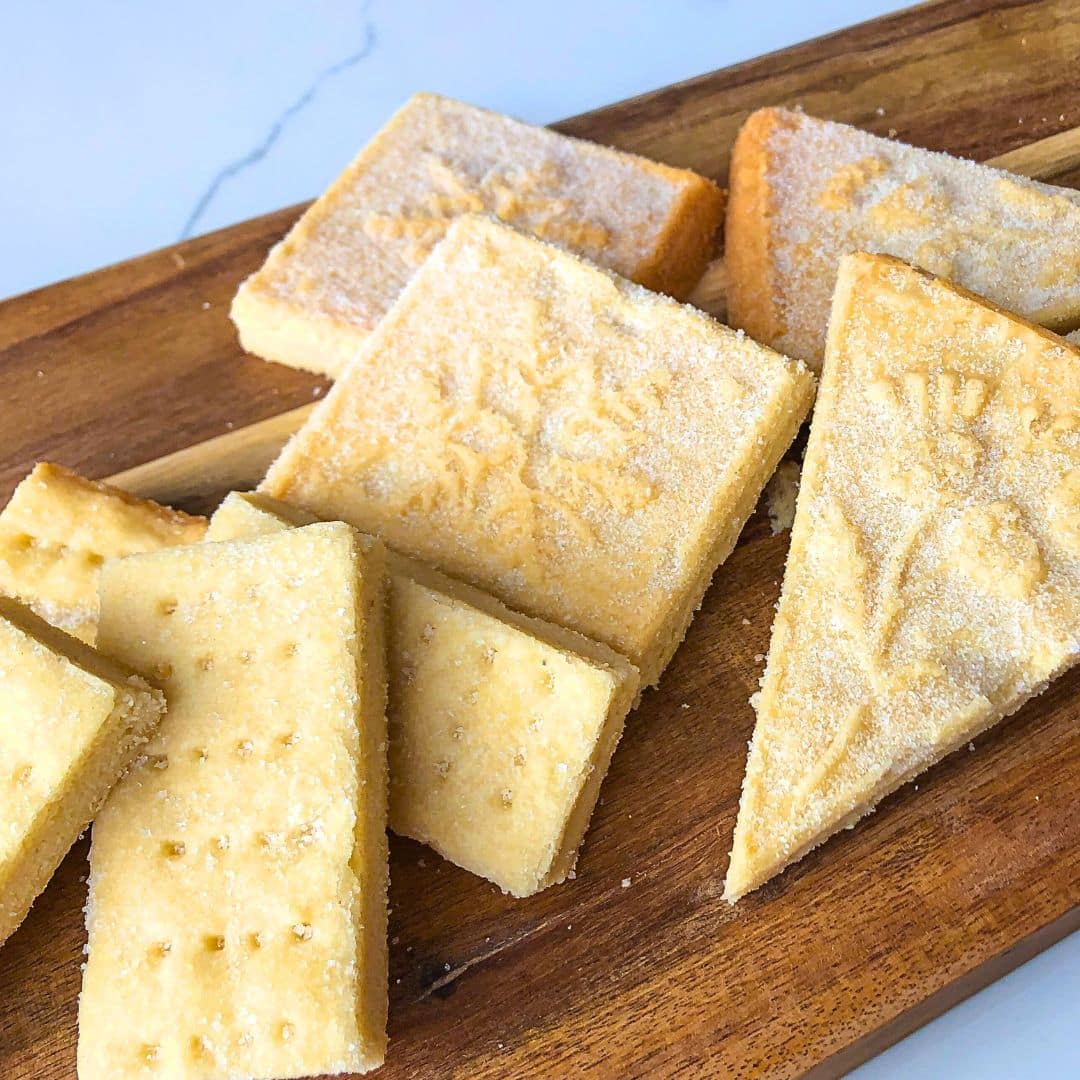
THE ceramic molds are quite expensive and difficult to find, the main advantage, besides the fact that the result is magnificent, is that it allows for more uniform and delicate cooking. Mine are from the company Brown Bag Designs. This company's molds come in 8- to 16-serving versions. In the photo below, I'm using 2 of their molds; one with 8 pieces and the other with 9 pieces. If you're looking to treat yourself or someone else, this is a great choice.
Other companies make them, like Nordicware who also make great Bundt cake pans. I actually use one of their pans in this recipe. sweet corn bundt cake.
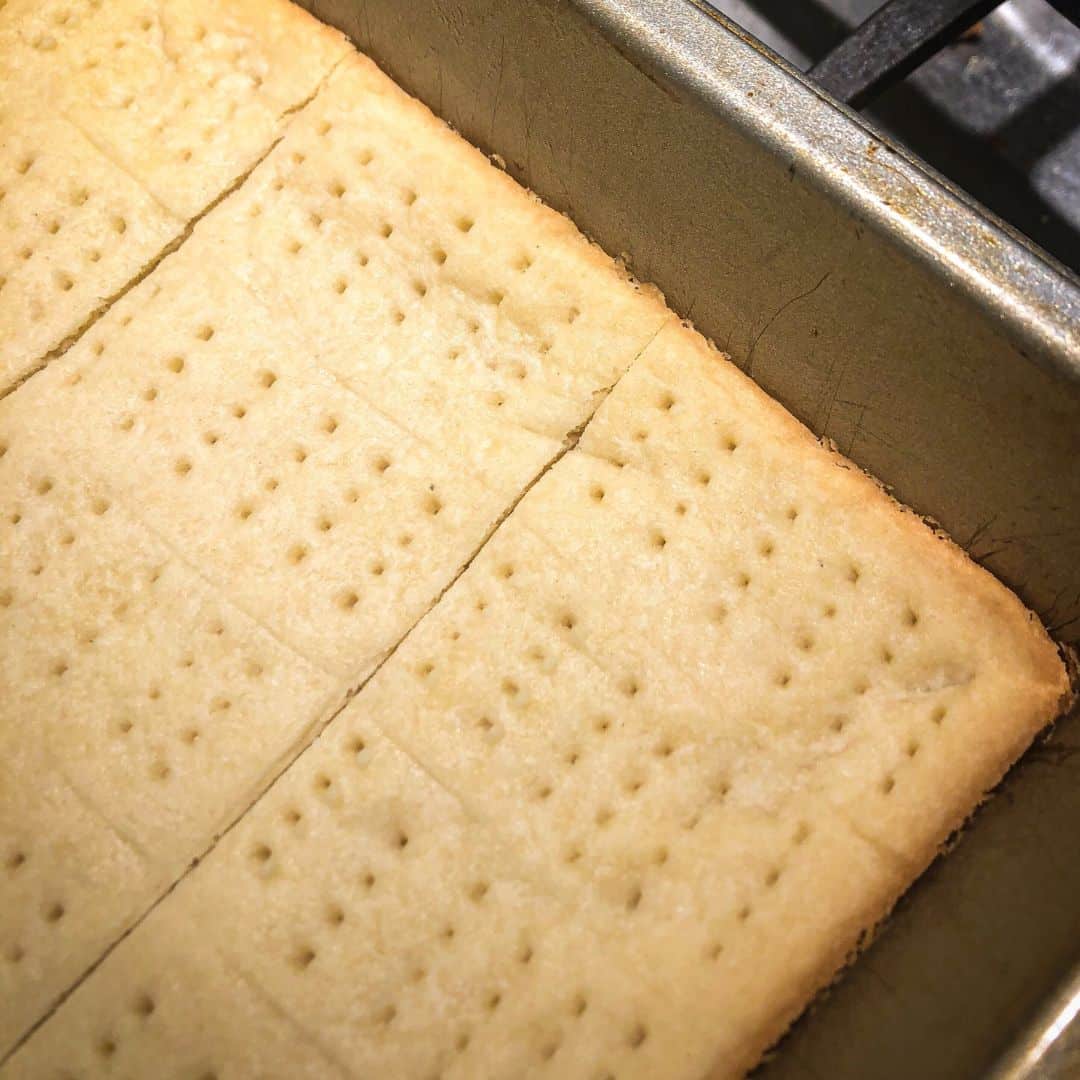
A good shortbread should be nice and blond, so remove them from the oven as soon as the sides brown. I baked a recipe for shortbread in an 8-inch square pan, the result is excellent, but you have to watch the cooking. In the photo below, you have an example with sticks baked in a standard cake pan that I divided into 18 portions.
If you have a small cast iron skillet this could be an interesting alternative. On the other hand, if your skillet is well “seasoned” thanks to your many savory recipes, I advise you to line the bottom with parchment paper to avoid the transfer of flavor.
Cooking
Before putting in the oven, don't forget to prick the shortbread with a fork to allow the steam created by cooking the butter to evaporate; your shortbread will stay nice and flat!
To prevent the shortbread from cracking, cut it while it is still warm. A good shortbread should be blond: remove it from the oven as soon as the edges start to brown.
Conservation and Tasting
Finally, feel free to double the recipe. These shortbreads keep very well in an airtight container at room temperature, or in the freezer for a few months. They make a perfect gift to give during the holidays.
EQUIPMENT
I use affiliate links in this section. As an Amazon Associate I earn from qualifying purchases. This will not cost you anything but it helps me offset the costs of my website. Thank you for your support. More information is available in the Privacy Policy.
Traditional Scottish shortbread
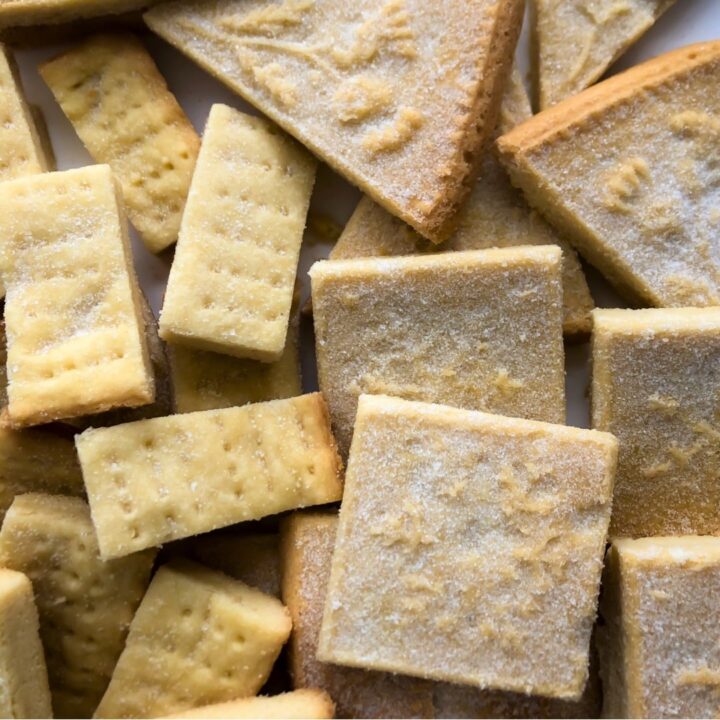
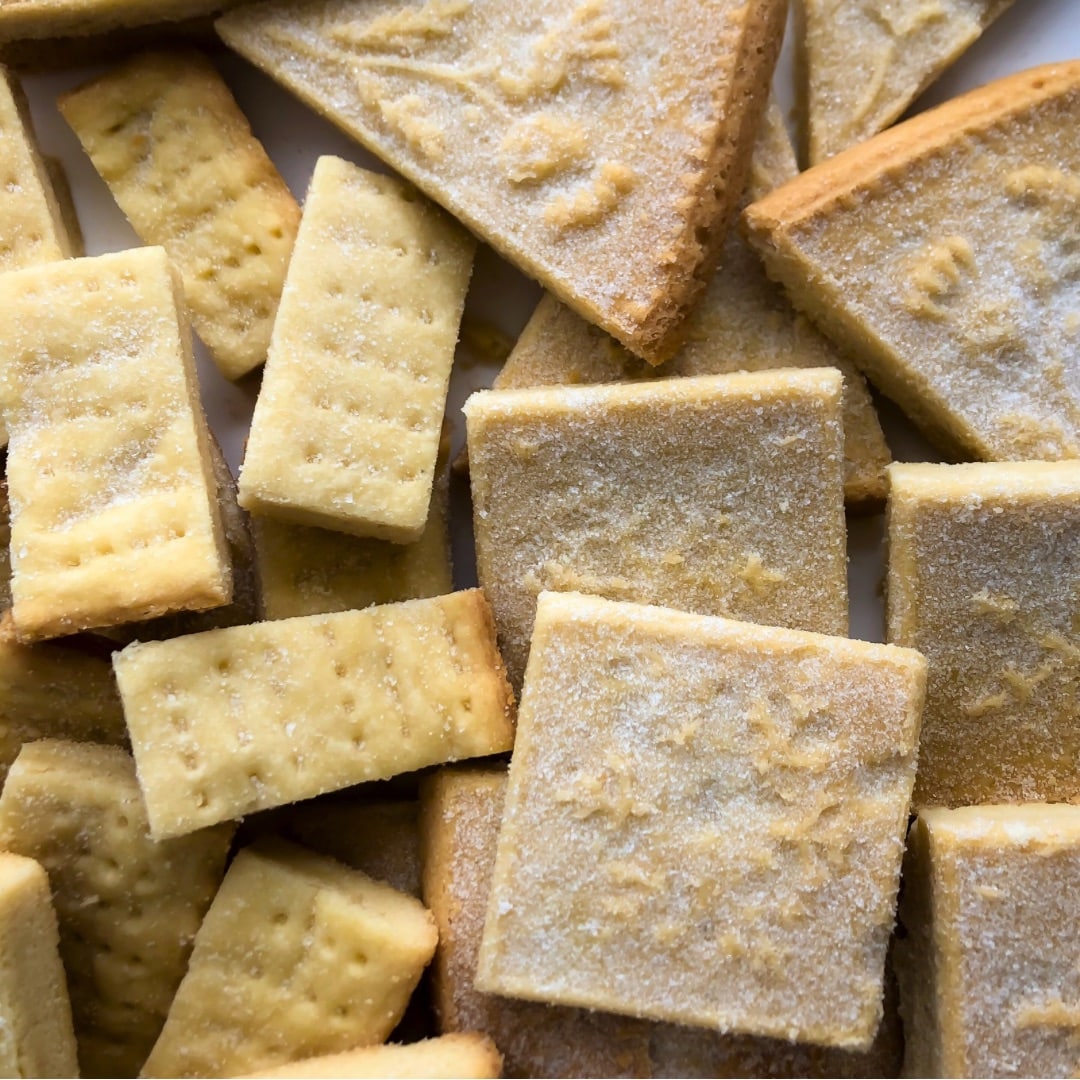
Scottish shortbread, is a must-have teatime treat. With just three main ingredients, this recipe guarantees you soft shortbread with an authentic taste. Learn how to add your own personal touch by using a variety of flavourings and follow my tips for perfect baking. Whether you're giving as a gift or enjoying it, these shortbreads are sure to delight!
Ingredients
The 3 basic ingredients
- 1/2 cup butter at room temperature
- 1/3 cup powdered sugar
- 1 cup flour
Recommended additions
- 1 teaspoon vanilla extract
- 2 tablespoons granulated sugar for dusting
- Non-Stick Cooking Spray
Instructions
- Preheat the oven. Open your oven at 325 degrees Fahrenheit to allow time for the temperature to stabilize before cooking.
- Beat the butter and sugar. Use a mixer to beat the butter and sifted powdered sugar until light and fluffy, about 3 to 4 minutes.
- Add vanilla. Stir in vanilla extract, or any other flavoring of your choice, depending on your personal preference.
- Add the flour. Pour the flour into the butter and sugar mixture, then mix with a wooden spoon until fully incorporated.
- Knead the dough. Transfer the dough to your work surface and knead lightly until smooth.
- If using an 8-inch square cake pan (if not, see step 7). Cut a piece of parchment paper the size of the bottom of the pan and place it in the pan. Spread the dough evenly over the bottom of the pan. With a knife blade, make light cut marks on the dough according to the number of cookies desired. They will serve as a guide for cutting after baking.
- If you are using a pan specifically designed for shortbreads, like those of Brown Bag Designs, then you don't have to trace your cut marks as they are part of the mold pattern. However instead of using parchment paper, spray the pan with non-stick cooking spray or lightly butter it.
- Prick the dough. Very important, to prevent the cookie dough from swelling or deforming during cooking, you must prick the whole surface dough using a fork.
- Bake in the oven. Bake for 20 to 30 minutes depending on the type of mold used. Cooking varies greatly from one cookie to another, depending on the type of mold used, the thickness of the cookies and the ingredients added according to your taste. A good shortbread should be blond: remove from the oven as soon as the edges start to brown.
- Rest. Leave to stand for 10 minutes before unmolding.
- Garnish. (Optional) Once unmolded and still hot, sprinkle with granulated sugar so that the sugar sticks well to the cookies.
- Cut the shortbreads. To prevent the shortbread from cracking, cut them while they are still warm. All you need to do is let them cool, give them as gifts or enjoy them!
Nutrition Information
Yield 9 cookies Serving Size 1 cookieAmount Per Serving Calories 182Lipides 10gSaturated Fat 6.5gTrans Fat 0.4gUnsaturated Fat 3.1gCholesterol 27mgSodium 82mgCarbohydrates 21gFiber 0.4gSugar 10gProtein 1.5g
The nutritional information provided on this site is calculated using standardized methods and is intended for informational purposes only. While we do our best to ensure the accuracy of these calculations, there may be variations due to factors such as ingredient quality, preparation methods, or human error in calculations. Therefore, we cannot guarantee the accuracy or completeness of this information. By using this information, you agree to do so at your own risk. It is recommended that you consult a healthcare professional or nutritionist for personalized nutritional advice or specific questions.




0 comments